@Autowired
- 동일한 자료형의 bean이 있으면 자동으로 주입시켜주는 어노테이션
- 클래스 안에 변수를 선언하고 위에
@Autowired를 추가하는 형태로 작성 - 이 어노테이션 아래 선언한 변수는 setter 메소드를 만들지 않아도 자동으로 주입이 된다.
- 이 어노테이션이 작성되면 반드시 동일한 자료형이 bean이 생성되어야 한다.
- bean이 없으면 bean이 없다고 예외가 발생
- 동일한 자료형의 bean이 2개가 이상이어도 예외가 발생
- 나중에 bean을 생성할 거라면
@Autowired(required=false)를 설정하면 예외가 발생하지 않음 - 동일한 자료형의 bean이 2개 이상인 경우에는
@Autowired아래에@Qulifier(bean의 id)를 추가하면 된다. - jdk1.8 이상을 사용하는 경우에는
@Resource(name=빈의아이디)를 이용해서도 설정 가능 - inject라는 라이브러리를 추가하면
@inject로도 주입을 받을 수 있다.
실습
1.Spring을 사용한 Maven 프로젝트 생성 - java Application 프로젝트
- sts나 eclipse에 sts 플러그 인을 설치하고 [Spring Legacy Project] - [Spring Simple Maven] 프로젝트를 생성
- 프로젝트가 제대로 만들어지지 않고 MF 파일만 생성
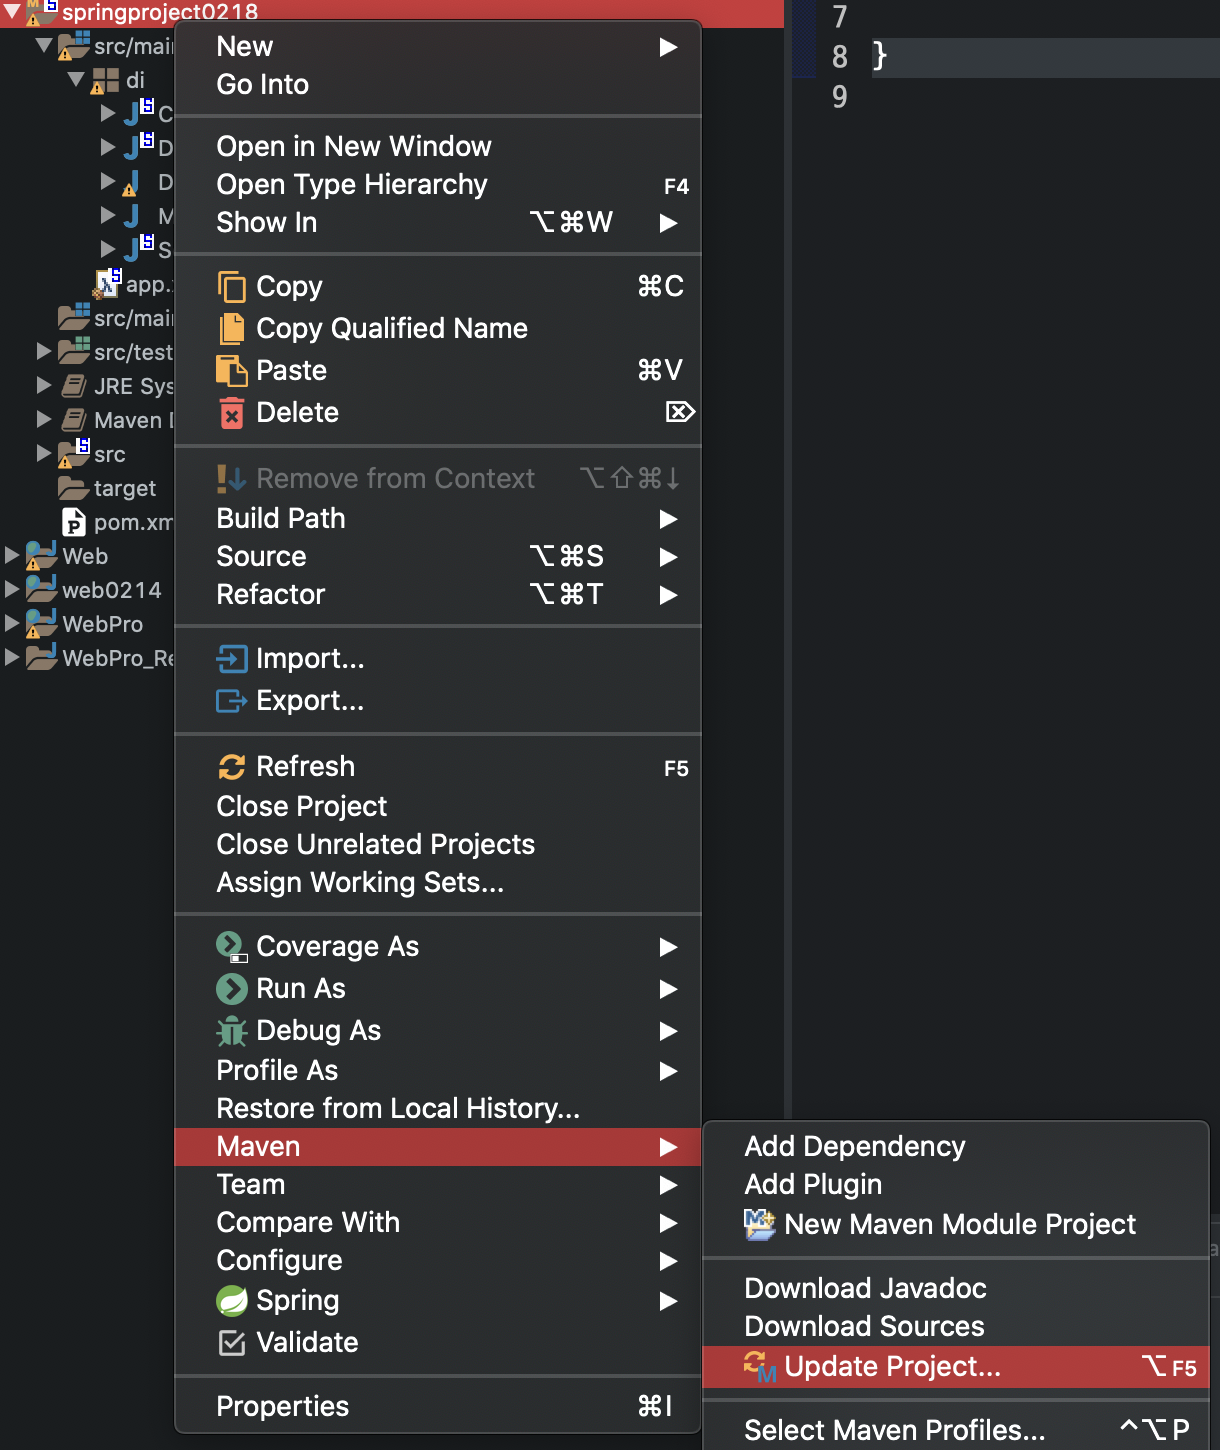
1) Project를 선택하고 Maven 프로젝트로 변환
- 프로젝트를 선택하고 마우스 오른쪽을 클릭 한 후 [Configure] - [ Convert to Maven Project]
- 프로젝트에 M이 보이고 pom.xml 파일이 생성
2) Project에서 Spring을 사용할 수 있는 설정을 추가
- pom.xml 파일의 project 태그 안에 추가
- 2.Ioc
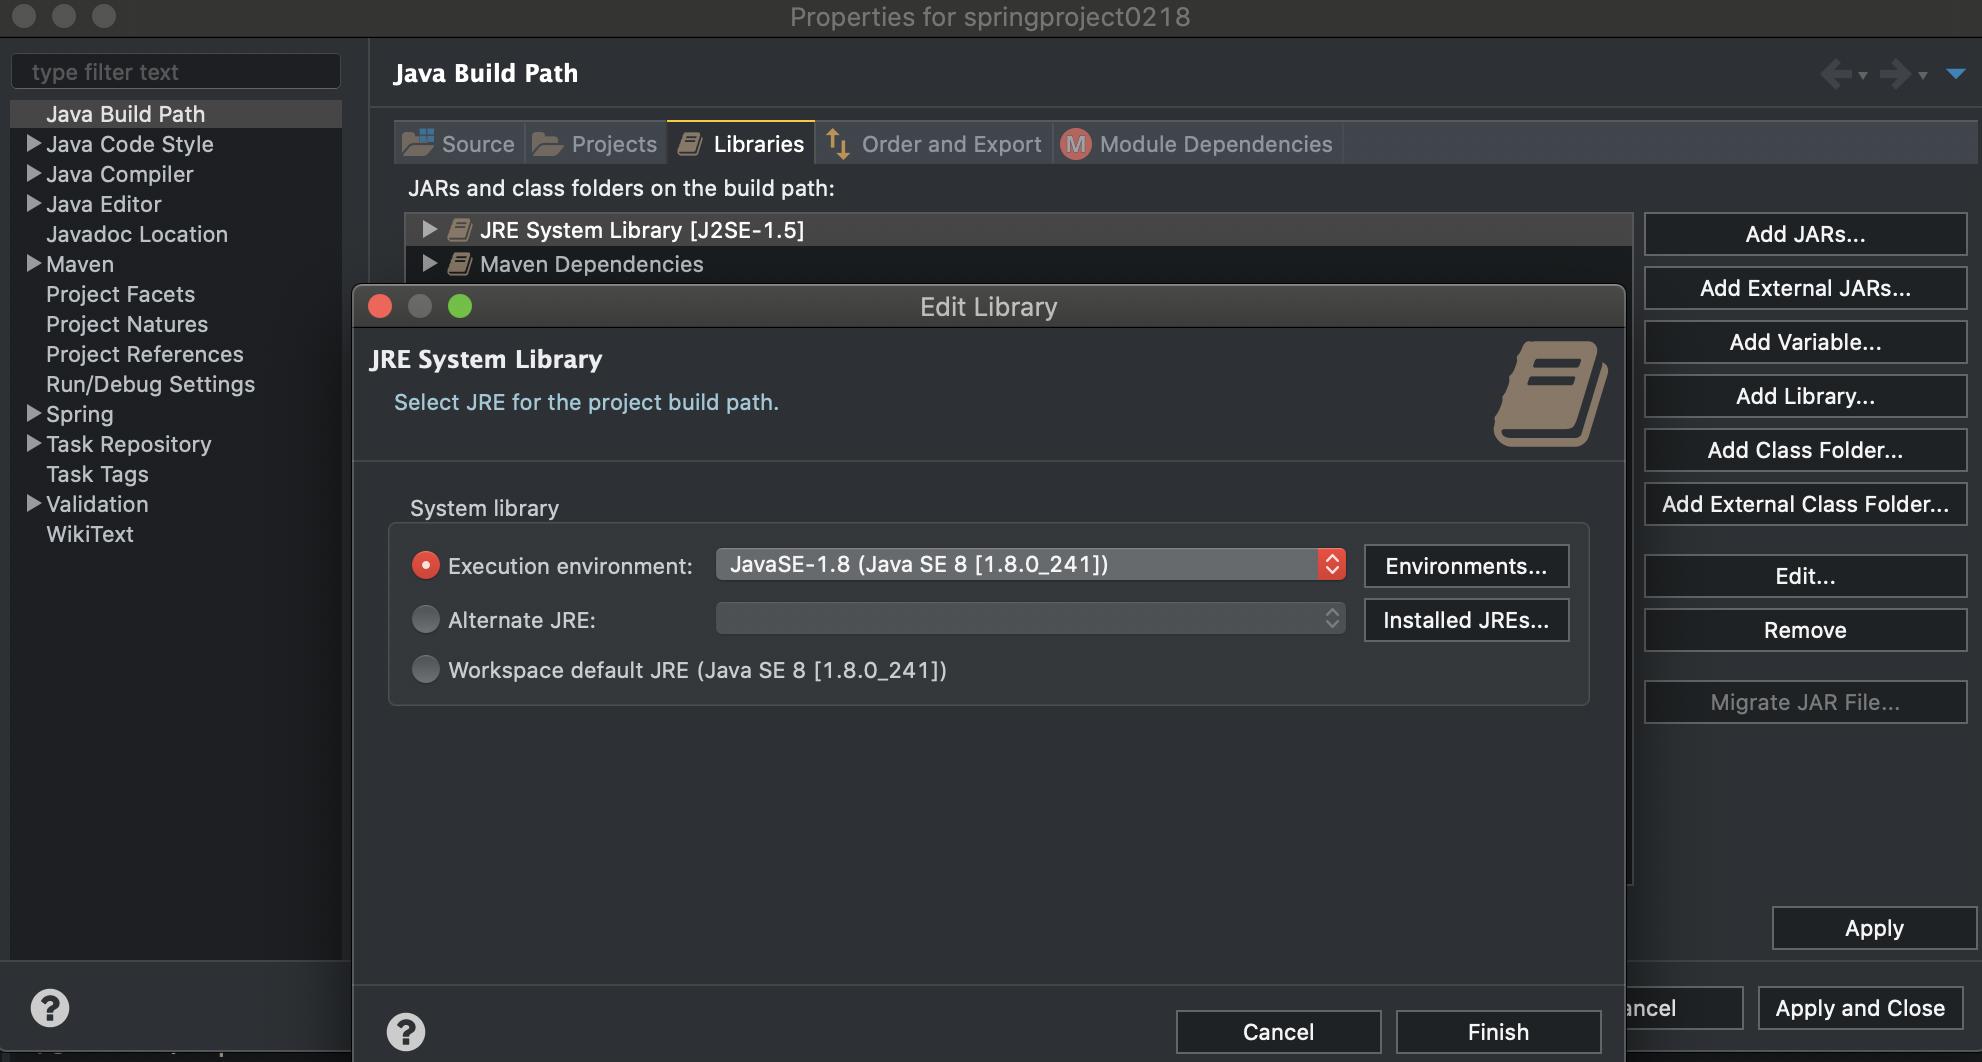
2.사용하는 자바 버전 변경
- 프로젝트를 선택하고 마우스 오른쪽을 클릭해서 [build path] - [configure build path] 를 선택
- jre System Library를 선택하고 Edit를 눌러서 원하는 버전으로 변경 - 1.8이상으로 변경
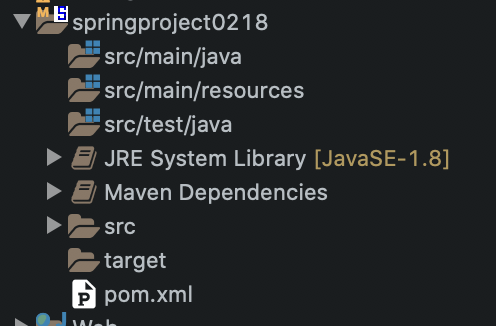
- src/test/java 폴더 : 배포할때 없어짐. 테스트할때만 사용
3.일반 프로젝트 구조
- Dao -> Service -> Controller
1) Dao 클래스를 만들고 메소드 1개를 추가
- di.Dao
public class Dao {

    public void insert() {

        System.out.println("데이터 삽입성공");
    }
}
2) Service 클래스를 만들고 메소드를 1개 추가
- di.Service
- Dao 클래스의 인스턴스를 사용
public class Service {
    private Dao dao;

    public Dao getDao() {
        return dao;
    }

    public void setDao(Dao dao) {
        this.dao = dao;
    }

    public void insert() { // 메소드 추가
        dao.insert();
    }
}
3) Controller 클래스를 추가 하고 작성
public class Controller {

    private Service service;

    public Service getService() {
        return service;
    }

    public void setService(Service service) {
        this.service = service;
    }

    public void insert() {
        service.insert();
    }
}
4.main 메소드를 소유한 Main 클래스를 만들고 작성
public class Main {

    public static void main(String[] args) {

        // 자바에서 Controller의 insert 메소드를 호출
        Dao dao = new Dao();

        Service service = new Service();
        service.setDao(dao);

        Controller controller = new Controller();
        controller.setService(service);

        controller.insert();
    }

}
5.Spring에서는 개발자가 직접 생성자를 호출해서 인스턴스 만드는 것을 권장하지 않음
- 개발자가 클래스를 만들 때 디자인 패턴을 적용해서 만들고 수명주기를 직접 관리해야 한다.
1) Spring Bean Configuration 파일을 추가하고 작성
- app.xml
    <!-- id는 개발자가 정하는 구별하기 위한 이름이고 class는 인스턴스를 생성할 클래스 이름 -->
    <bean id="dao" class="di.Dao" />
    <bean id="service" class="di.Service" />
    <bean id="controller" class="di.Controller" />

</beans>
2) main 메소드 수정
- new 안함
public class Main {

    public static void main(String[] args) {
        // Spring Bean 설정 파일의 내용 가져오기
        GenericXmlApplicationContext context = new GenericXmlApplicationContext("classpath:app.xml");

        // 자바에서 Controller의 insert 메소드를 호출
        // Dao dao = new Dao();

        // 설정 파일에서 bean 가져오기
        Dao dao = context.getBean("dao", Dao.class);

        // Service service = new Service();
        Service service = context.getBean("service", Service.class);
        service.setDao(dao);

        // Controller controller = new Controller();
        Controller controller = context.getBean("controller", Controller.class);
        controller.setService(service);

        controller.insert();
    }
}
6.DI(Dependency Injection - 의존성 주입)
- 다른 클래스의 객체의 외부에서 생성해서 대입해주는 것
- 생성자를 이용하는 방법과 프로퍼티(setter)를 이용하는 방법
- Spring에서는 의존성 주입도 자바코드가 아니라 설정에서 가능하다.
<bean id="아이디" class="클래스경로">
    <constructor-arg value="값" /> 또는 <constructor-arg><ref bean="다른 bean 아이디" />
    </construcotr-arg>

    <porperty name ="프로퍼티이름" value="값"/> 또는
    <property name="프로퍼티이름"><ref bean="다른 bean아이디"/></property>
</bean>
1) app.xml 수정
    <!-- id는 개발자가 정하는 구별하기 위한 이름이고 class는 인스턴스를 생성할 클래스 이름 -->
    <bean id="dao" class="di.Dao" />
    <bean id="service" class="di.Service" >
        <property name="dao">
            <ref bean="dao"/>

        </property>
        </bean>

    <bean id="controller" class="di.Controller">
        <property name="service">
            <ref bean="service"/>

        </property>
        </bean>
</beans>
2) main 메소드 수정
public class Main {

    public static void main(String[] args) {
        // Spring Bean 설정 파일의 내용 가져오기
        GenericXmlApplicationContext context = new GenericXmlApplicationContext("classpath:app.xml");

        // 설정 파일에서 bean 가져오기
        Dao dao = context.getBean("dao", Dao.class);

        // 설정 파일에서 주입을 했다면 주입하는 코드가 필요 없다.
        Service service = context.getBean("service", Service.class);
        service.setDao(dao);

        Controller controller = context.getBean("controller", Controller.class);
        controller.setService(service);

        controller.insert();
    }
}
7.Autowired
- 변수 위에 @Autowired를 추가하면 동일한 자료형의 bean이 있으면 자동으로 주입 (setter 필요없음)
- 어노테이션을 이용한 설정을 사용할려면 spring 설정파일에
<context:annotation-config/>가 추가되여야 함
1) Service 클래스 수정
public class Service {
    //서비스가 Dao를 사용
    @Autowired // Dao 클래스 타입의 bean이 있으면 자동으로 주입
    private Dao dao;

    public void insert() {
        dao.insert();
    }
}
2) Controller 클래스 수정
public class Controller {

    @Autowired
    private Service service;

    public void insert() {
        service.insert();
    }
}
3) app.xml 수정
- context 스페이스네임 설정 ( 아래와 같은 에러가 발생)
<!-- id는 개발자가 정하는 구별하기 위한 이름이고 class는 인스턴스를 생성할 클래스 이름 -->
<bean id="dao" class="di.Dao" />
<bean id="service" class="di.Service">
</bean>
<bean id="controller" class="di.Controller">
</bean>
<!-- 어노테이션 설정을 적용하기 위한 태그 -->
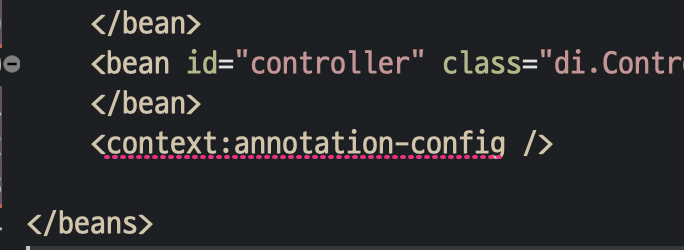
<context:annotation-config />
</beans>
- Main 클래스 실행 계속 구문이 간결해 지고 있다.
public class Main {

    public static void main(String[] args) {
        // Spring Bean 설정 파일의 내용 가져오기
        GenericXmlApplicationContext context = new GenericXmlApplicationContext("classpath:app.xml");

        // 설정 파일에서 bean 가져오기
        Dao dao = context.getBean("dao", Dao.class);

        // 설정 파일에서 주입을 했다면 주입하는 코드가 필요 없다.
        Service service = context.getBean("service", Service.class);

        Controller controller = context.getBean("controller", Controller.class);

        controller.insert();
    }
}
8.Bean의 자동생성
<context:component-scan base-package="패키지 이름"/>- 패키지에 속한 클래스 중에서 클래스 선언 위에
@Component @Controller @Service @Repository어노테이션이 추가된 클래스의 bean을 자동생성 - 이 때 bean의 id는 클래스 이름의 첫글자를 소문자로 변경한 것이다.
1) Controller, Service, Dao 클래스 위에 @Component 추가
import org.springframework.beans.factory.annotation.Autowired;
import org.springframework.stereotype.Component;

@Component  // bean을 자동으로 생성해주는 어노테이션
public class Controller {

    @Autowired
    private Service service;

    public void insert() {
        service.insert();
    }
}
2) app.xml 수정
    <!--  di 패키지에 있는 클래스 중에서
    @Component 어노테이션이 붙은 클래스의 bean을 자동생성  -->
    <context:component-scan base-package="di"/>

    <!-- 어노테이션 설정을 적용하기 위한 태그  -->
    <context:annotation-config />
</beans>
3) Main 클래스 수정
public class Main {

    public static void main(String[] args) {
        // Spring Bean 설정 파일의 내용 가져오기
        GenericXmlApplicationContext context = new GenericXmlApplicationContext("classpath:app.xml");

        // 필요한 것만 가져와서 getBean 메소드로 호출
        Controller controller = context.getBean("controller", Controller.class);
        controller.insert();
        context.close();
    }
}
Spring Maven project의 테스트
- Spring Project에서 테스트는 Junit과 Spring-test 라이브러리를 이용
- 테스트는 점점 중요하게 평가 받는데 최근에는 TDD(Test Driven Development) 라는 개발 방법론도 등장
- 예전에는 어떤 기능을 전부 완성하고 테스트를 수행
- 에러나 예외가 발생하면 디버깅하기가 어려웠고 웹 프로젝트 같은 경우는 거의 모든 부분을 완성해야 테스트를 할 수 있었음
TDD(Test Driven Development)
어떤 기능이 있으면 *작은 부분으로 쪼개서 가장 작은 부분부터 제대로 수행되는지 테스트를 하고 이 코드가 테스트를 통과하면 다음 부분을 붙이는 형태로 프로그래밍을 하는 방식
1.Test 클래스를 생성하고 상단에 작성
@RunWith(SpringJUnit4ClassRunner.class)@ContextConfiguration("설정 파일의 경로를 작성")- 설정 파일의 내용을 읽어서 사용이 가능
2.Service 클래스의 insert 메소드를 테스트
1) junit 버전에 4.10 이상인지 확인 - pom.xml 파일에서 확인
2) spring-test 라이브러리의 의존성이 설정되었는지 확인
3) 테스트용 클래스를 만들고 코드를 작성
@RunWith(SpringJUnit4ClassRunner.class)
//app.xml 의 모든 내용을 수행
`@ContextConfiguration("classpath:app.xml")`
public class Testing {

    @Autowired
    private Service service;

    //테스트용 메소드 만들기
    @Test
    public void method() {
        service.insert();
    }
}
*DTO
속성들을 묶어서 표현하기 위한 클래스
Class DTO {
변수
생성자
접근자
}